What's New?
Updated: 05 February, 2024
Demo Video :
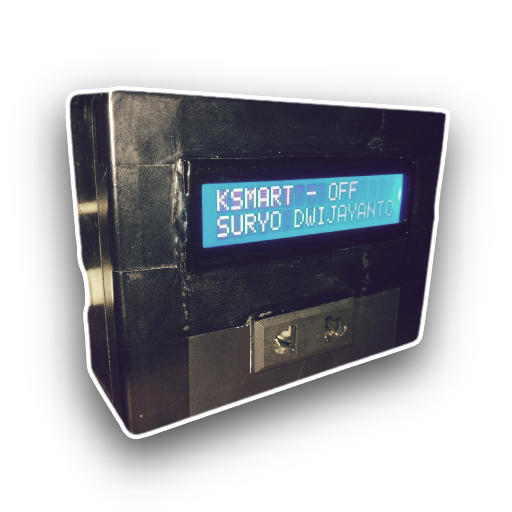
Version 1.0.0 Release KSmart Remote Switch, Include item :
- NodeMCU ESP8266
- LCD I2C
- Relay 1 Channel
Several library features have been added, such as Firebase and also an LCD I2C screen. Everything is packaged in the project on Arduino and compiled.
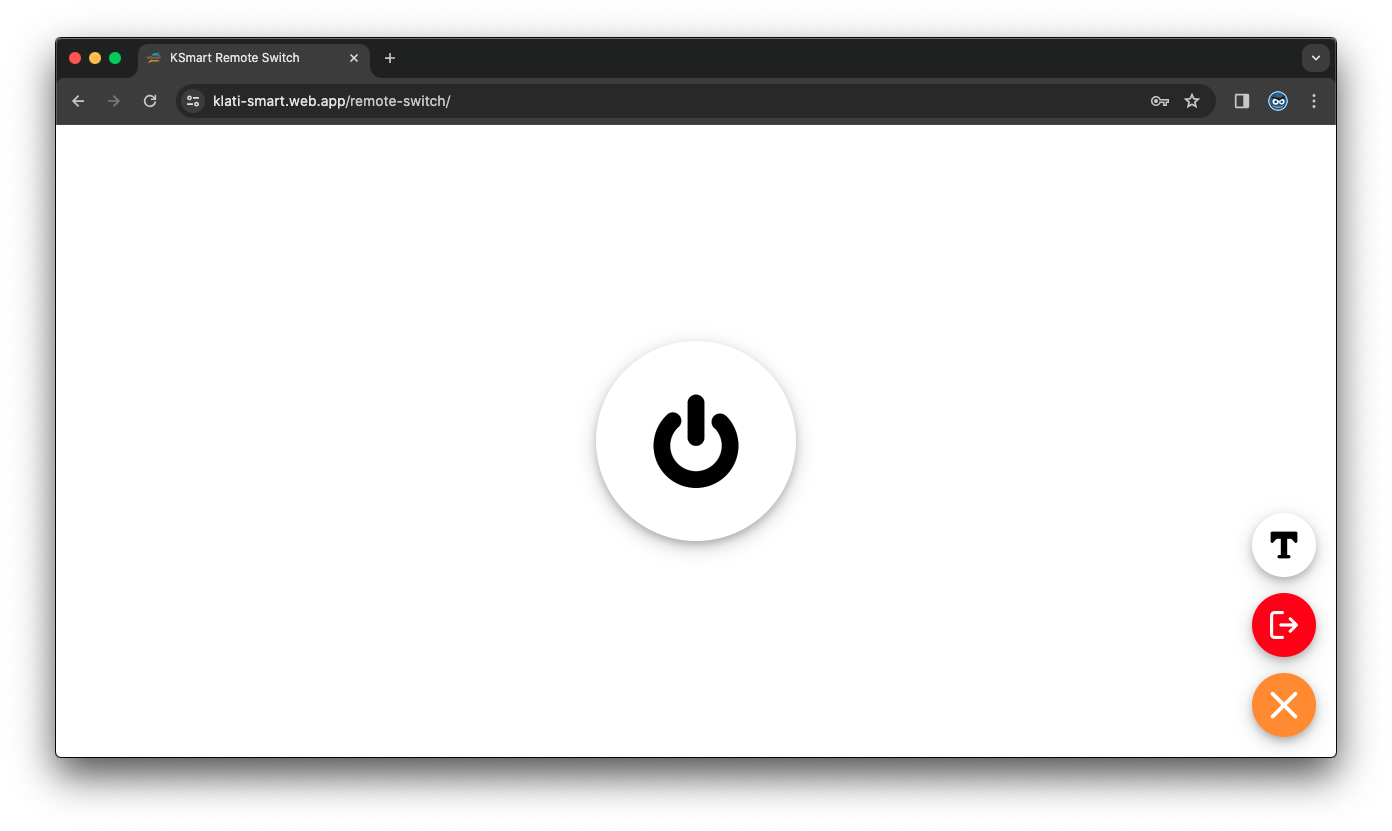
Version 1.0.0 Release KSmart on Website or Apps, Include Permission :
- Minimalis UI/UX
- Security System
- Theme Light/Dark by Time
- User Login (Required)
- Network Access
- Voice
Based on access permissions, it can affect the running of the KSmart system. Make sure you have read our policy and agree to all permissions to access our website and application.
This is just a small part of the examples that we have told you, there are many more examples in the KSmart application.
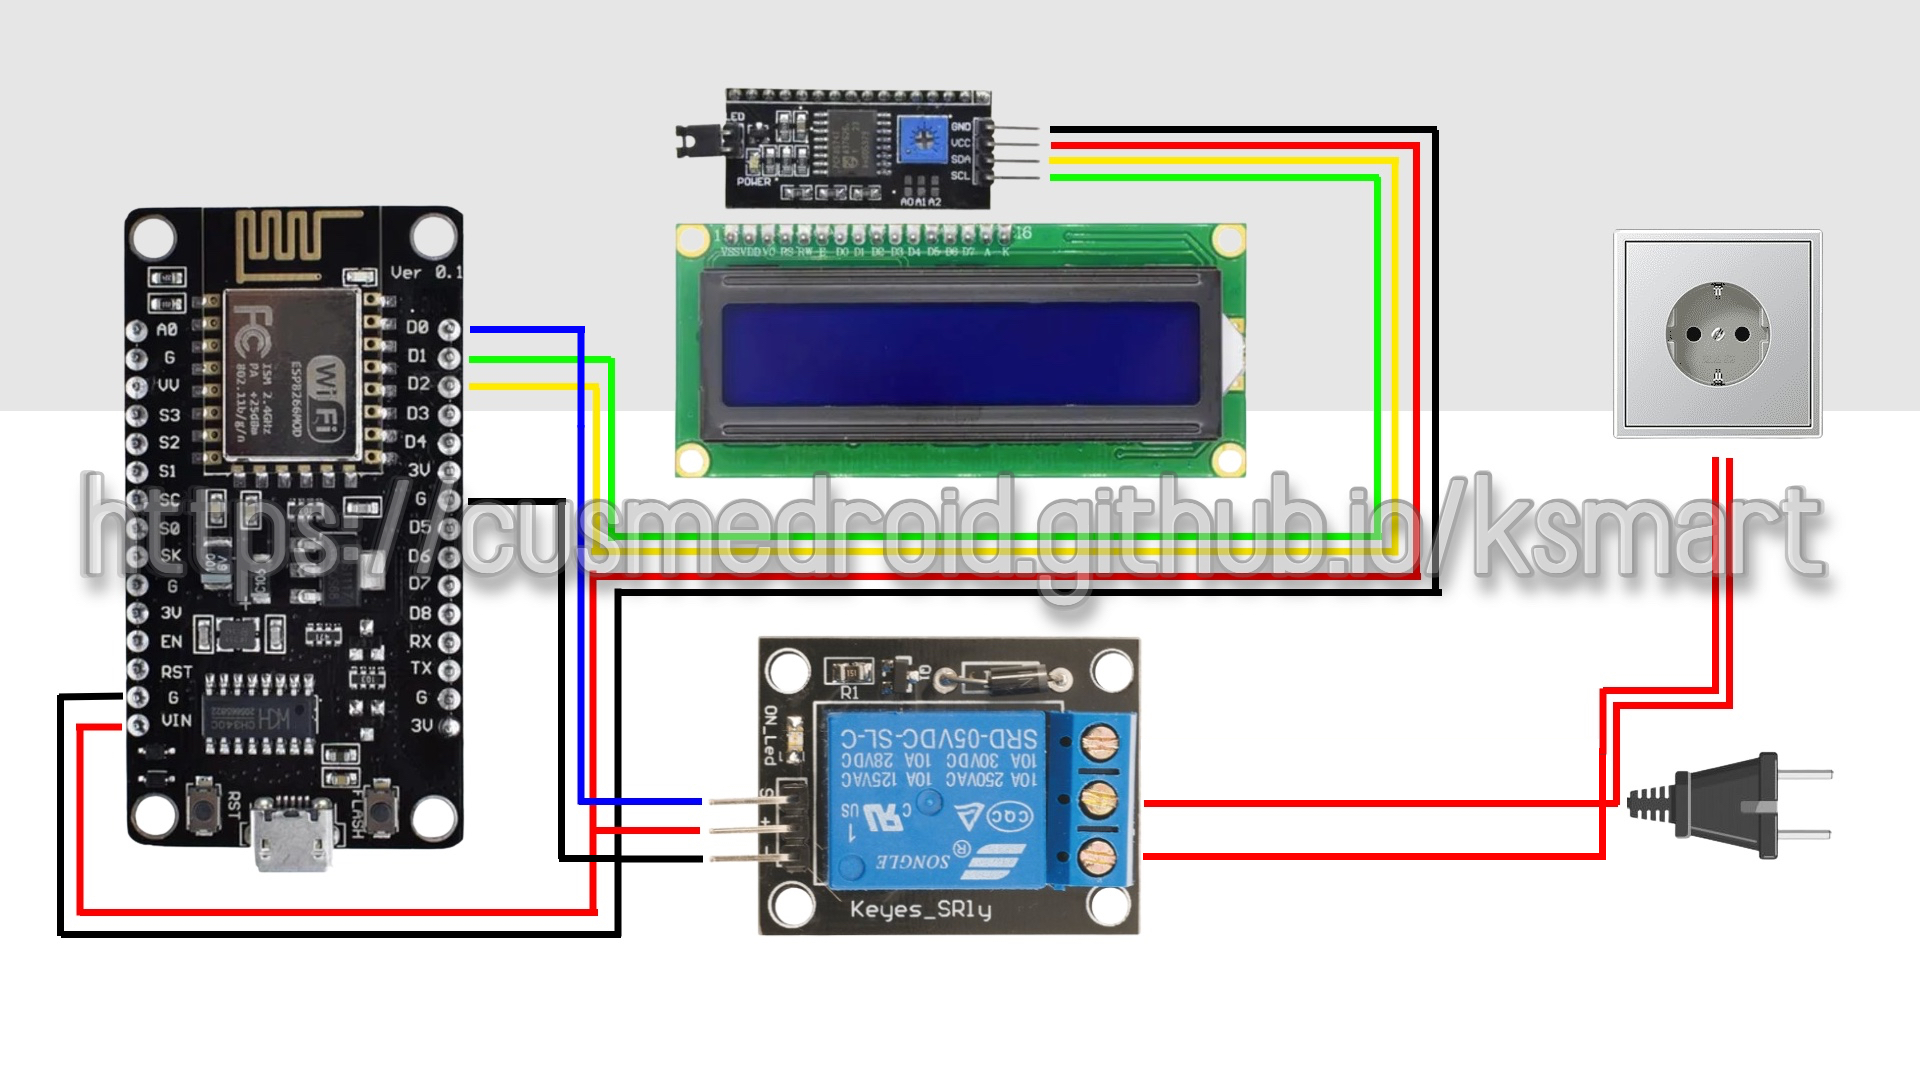
Board Installation?
Connect the legs on the NodeMCU ESP8266 board to your LCD I2C screen and Relay 1 Channel.
| Relay S | D0 |
| SCL | D1 |
| SDA | D2 |
| LCD I2C VCC & Relay + | VIN |
| LCD I2C GND & Relay - | G |
Make sure all the paths our instruct are correct, if an error occurs due to installation, it's entirely your responsibility!
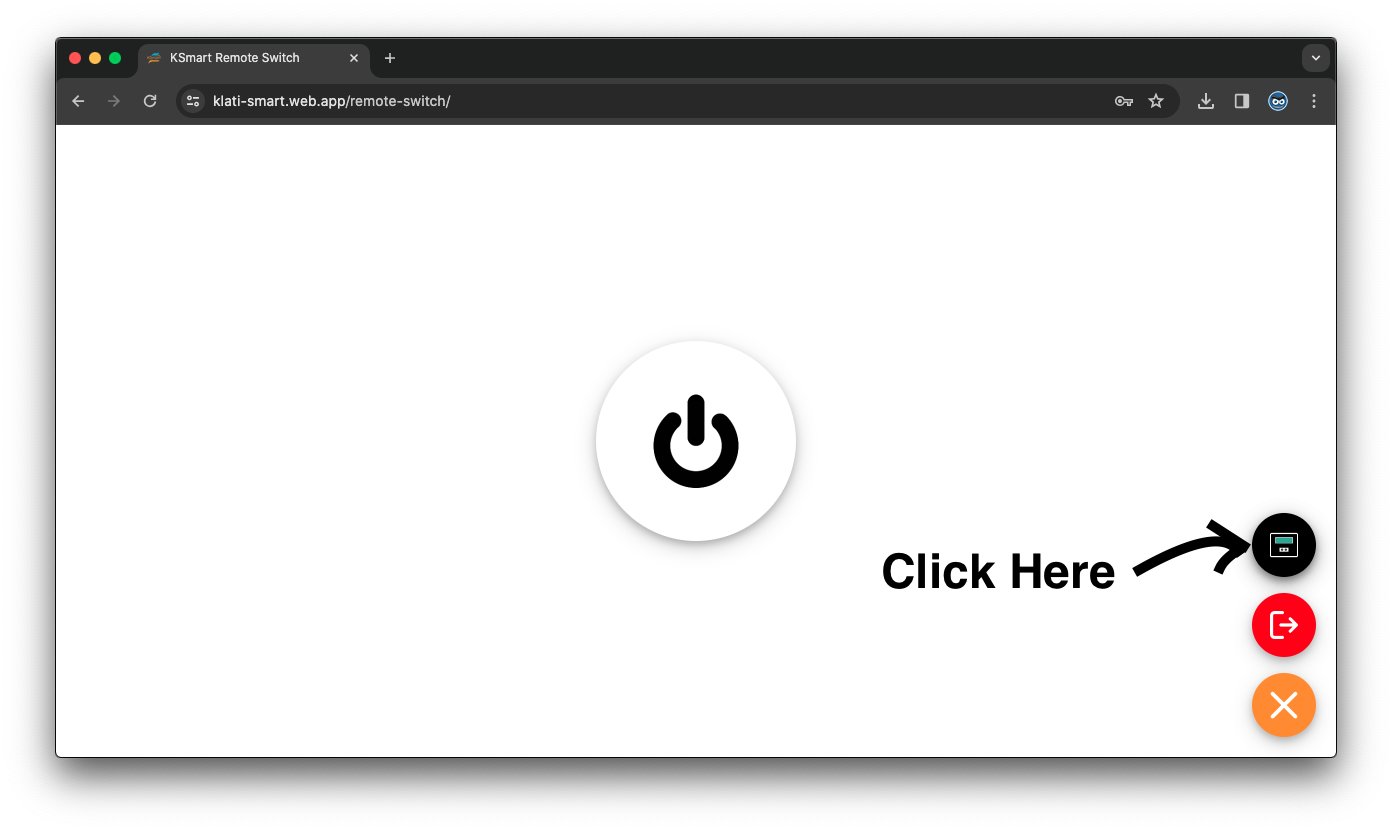
How To Get Firmware?
First open KSMART REMOTE SWITCH on Web or Apps. Sign Up account and click icon menu and than click this icon ![]() fill in according to instructions.
fill in according to instructions.
How To Install Firmware?
This is an example of the firmware that we made, you have to follow it.
Download firmware Here!.
You can flash on NodeMCU Flasher for Windows. Download for the link based on your OS version 64 bit or 32 bit
NodeMCU devkit already has the convertor in the board.Just download the appropriate driver (CP2102 / CH340).
Open NodeMCU flasher application and click on "Log" tab.Initially it'll be empty.
- Now connect your ESP device to the computer after enabling flash mode.
- The COM port number will be displayed in the log tab.
- Go to "Config" tab and select the file you had created using cloud service,The address should be 0x00000.
- Go to Operation tab and click on Flash button.The MAC address and COM port will be automatically filled and the progress bar starts moving.
- If you check the log tab now it'll show you the status of flashing each block.
- Once the flash is successfully completed you will get a green tick on bottom left corner.
For reference, you can see In Here.
Connect Settings?
Setting hotspot/wifi on your device
| Name | KSMART |
| Password | KSMART0110 |
Sign In to KSmart Remote Switch
| demo@klati-smart.web.app | |
| Password | Demo123 |